Our cooking assignments for The Academy of Culinary Nutrition focus on developing our own recipes now which I find a lot of fun, but also frightening. I don't like wasting food so I'm afraid of doing something that tastes awful only to throw it out! Putting that aside, I find it really fun to think about what tastes go well together and then develop something that resembles dinner.
I served this dish to my kids without the mushrooms (how can they not like mushrooms!) and they loved it. I developed this recipe for someone with Rheumatoid Arthritis for my assignment, so it's super nourishing for your joints, tasty, gluten-free and dairy-free.
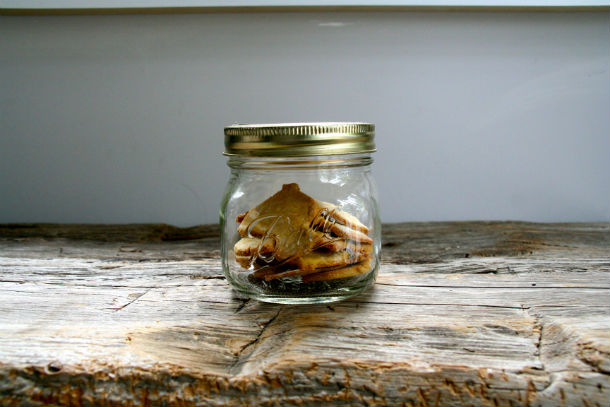
Herb-Roasted Cremini Mushroom Tostadas + Hemp and Greens Power Pesto
Makes 7 tostadas*
Ingredients
Mushrooms
Ingredients
Mushrooms
1 package of cremini mushrooms (227 g)
1 tbsp of dried thyme
2 tbsp of fresh parsley
1 tsp of dried rosemary
1/2 tsp of salt
1/2 tsp of pepper
4 tbsp olive oil
Tostadas
Adapted from Spiced Chickpea Pancakes, by Lindsey S. Love
1.5 cups of almond milk or dairy-free milk of choice
1 tbsp apple cider vinegar
1 cup of chickpea flour
1/2 cup of brown rice flour
1 tsp sea salt
1/4 teaspoon black pepper
2 tbsp of olive oil, plus more for the pan
2 organic eggs
1 cup of Hemp and Greens Power Pesto (recipe below)
Cashew cheese for drizzling. Optional (recipe below)
Directions
Make the pesto and cheese, if using, ahead of time so you can focus on the main dish.
Prepare the mushrooms
1. Pre-heat the oven to 400 degrees. Line a baking sheet with parchment paper.
1. Pre-heat the oven to 400 degrees. Line a baking sheet with parchment paper.
2. Wipe away debris from mushrooms and set aside.
3. In a large mixing bowl whisk together oil, herbs, salt and pepper and add in mushrooms. Stir making sure all the mushrooms are coated in the oil/herb mixture.
4. Place the mushrooms evenly on the baking sheet.
4. Place the mushrooms evenly on the baking sheet.
5. Bake for 20 minutes.
Tostadas (Makes 7 Medium-sized tostadas)
While the mushrooms are roasting, make the tostadas
1. In a small bowl, mix milk and apple cider vinegar together and let sit until it bubbles a bit (5 minutes).
2. In large bowl, mix together flours, salt and pepper.
3. When it’s ready, add the milk mixture to the flour. Add the olive oil and eggs. WhisK together until everything is incorporated and no lumps remain.
4. Heat a skillet to medium and add 2 tablespoons of olive oil.
5. Using a 1/3 cup measuring cup, pour batter into the skillet, trying to keep it in a nice circle and cook until small bubbles form in the batter. Flip and cook the other side. Keep warm. Repeat until you have used all of the batter.
6. When the mushrooms are done, slice and set aside.
7. Spread a heaping tablespoon of pesto on a tostada and top with 5 or 6 sliced mushrooms.
8. Drizzle cashew cheese on top and enjoy!
Notes
*This recipe makes 7 tostadas, but you will have some mushrooms and cashew cheese leftover (great toppings for eggs the next morning!)
**All of the elements to this meal can be made ahead of time then put together the day you need them. Everything will stay in the fridge for two days.
Additional recipes:
Cashew Cheese
Makes about 1 cup
1 cup of cashews, soaked overnight in water
1/4 cup of nutritional yeast
1.5 tsp salt
2 cloves of garlic
1/4 cup water +2 tbsp
1. Process all of the ingredients in a high-speed blender or food processor, scraping down the sides as needed. Blend until smooth.
Hemp and Greens Power Pesto
Adapted from Protein-Packed Hemp Seed Pesto, by Oh My Veggies
1 large clove of garlic or 2 small
2 large cups of greens (I used a baby kale, chard and spinach mix, but just kale will work fine), washed
1/4 cup of vegan parmesan
3 tbsp hemp seeds
3 tbsp hemp seeds
1 tsp salt
3 tbs olive oil
2 tbs lemon juice
1. Put garlic in the food processor and chop until small, then add all of the other ingredients and process until smooth.
Vegan Parmesan
Makes about 1.5 cups
1 cup of cashews
1/4 cup of nutritional yeast
1 tsp of salt